Plaster Repair: What Homeowners Can Fix and When to Hire Help
Learn how to assess plaster damage, handle minor repairs, spot warning signs, and decide when a qualified plaster repair contractor is the safer choice.
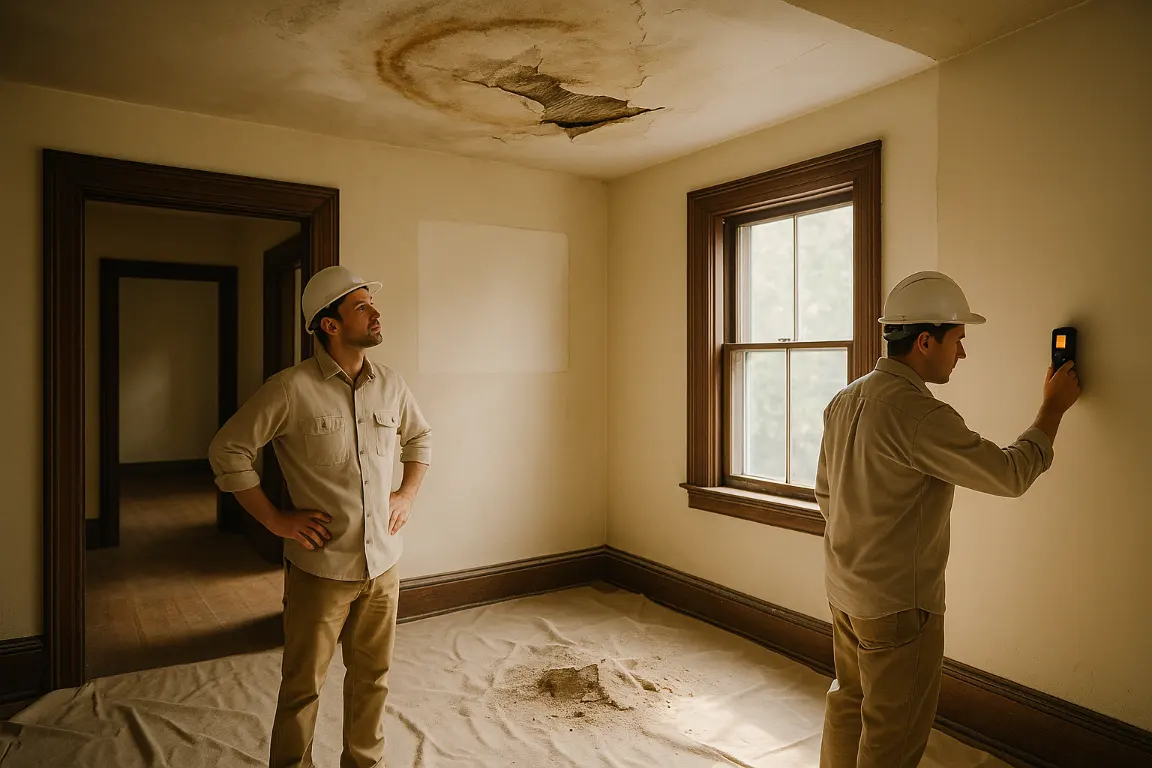
Learn how to assess plaster damage, handle minor repairs, spot warning signs, and decide when a qualified plaster repair contractor is the safer choice.
Plaster repair can be a satisfying weekend project, or a clear sign that your house needs professional service. Small hairline cracks, nail holes, and minor plaster damage often respond well to thoughtful repairs with the right materials: compound, plaster washers, and a finely finished coat of paint. Patching holes and patching plaster call for patient preparation: clean the damaged plaster, apply the patch, and allow each coat to dry before finishing. Yet loose plaster, recurring cracks, sagging ceilings, and water stains can point to movement, moisture, or failing lath behind plaster walls. Before repairing plaster or selecting a drywall repair, identify the source of the damage. A skilled restoration job can repair plaster, safeguard each wall and surrounding walls, and preserve the distinctive character of lime plaster.
Plaster repair starts with finding the cause of damage, whether age, movement, failed lath, impact, or moisture, before patching the surface. Homeowners can often handle minor holes and scuffs, but loose, hollow, sagging, stained, or recurring cracked plaster needs professional assessment. Water-damaged ceilings require particular caution. Lasting repairs depend on proper stabilization, compatible materials, careful texture matching, and correcting underlying problems first.
Plaster brings a depth, solidity, and character that newer wall finishes rarely match. Yet plaster responds distinctly to age, movement, moisture, and earlier repairs. Before patching holes or beginning a plaster repair project, identify the source of the plaster damage. A smooth patch may look finished, but it can fail quickly when loose plaster, an active leak, or structural movement remains unaddressed.
Begin with the pattern and location of the damage. Fine hairline cracks are often cosmetic, particularly around doors, windows, and wall-to-ceiling transitions. Wider or recurring cracks can indicate settling, vibration, framing movement, or failing plaster keys behind the surface. When plaster sounds hollow, flexes under gentle pressure, or releases dust and fragments, it may be separating from the lath. Stabilize loose plaster with plaster washers, or remove it back to sound material, before repairs begin.
Moisture is another frequent cause. Stains, bubbling paint, soft spots, or crumbling damaged plaster may point to a roof leak, plumbing issue, condensation concern, or earlier water damage. Correct the source and allow the area to dry thoroughly before repairing plaster. Otherwise, even a carefully matched lime plaster patch can remain vulnerable to staining, mold, and renewed damage.
Holes and impact damage call for a different approach. Small holes can often be patched with a clean, durable repair. Larger openings may require reinforcement and a multi-coat restoration to rebuild the wall’s original profile. On older plaster walls and ceilings, patching plaster, matching texture, and blending repair edges require practiced judgment, not simply compound, sandpaper, and paint. The right materials, applied with the right method, help the finished job look as though it has always belonged in the house.
At MrWalls Drywall & Painting, our plaster repair service looks beyond visible damage before we recommend a repair. We determine whether your walls need a straightforward cosmetic fix, plaster stabilization, water-damage remediation, selective replacement, or a drywall solution. Whether the work calls for a patch, a full restoration, or guidance on how to repair plaster, a proper diagnosis protects the finish, preserves your home’s character, and helps prevent the same cracks from returning.
| Visible sign or condition | What it may indicate | Repair consideration |
|---|---|---|
| Fine hairline cracks, especially around doors, windows, or wall-to-ceiling transitions | Often cosmetic damage | Confirm the cracks are stable before completing a cosmetic repair. |
| Wider or recurring cracks | Settling, vibration, framing movement, or failing plaster keys behind the surface | Identify and address the source of movement before repairing the finish. |
| Plaster that sounds hollow, flexes under light pressure, or sheds dust and fragments | Plaster separating from its base | Stabilize loose plaster or remove it back to sound material before finish work. |
| Stains, bubbling paint, soft areas, or crumbling plaster | Roof leaks, plumbing issues, condensation, or past water damage | Correct the moisture source and thoroughly dry the area before making repairs. |
| Small holes or impact damage | Localized surface damage | Small holes may be patched cleanly after assessing the surrounding plaster. |
| Larger openings or extensive impact damage | Damage that affects the wall’s original profile | May require reinforcement and a multi-coat restoration to rebuild the surface. |
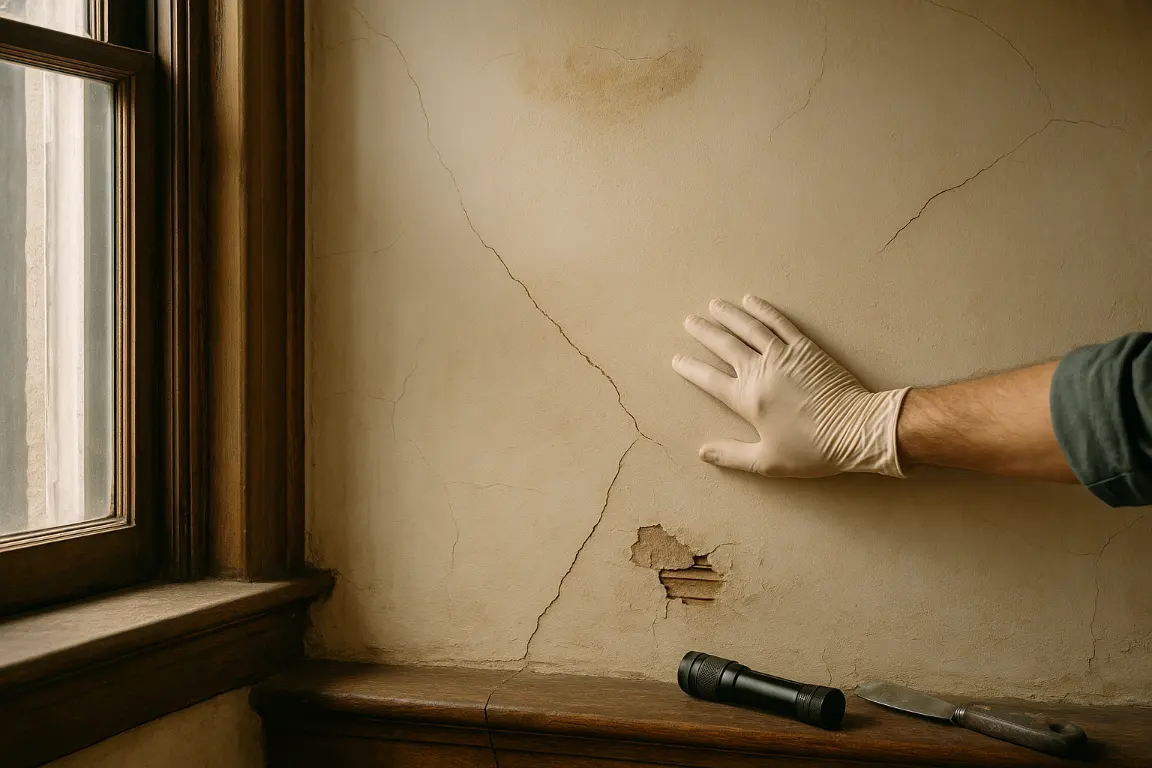
Plaster repair is not simply drywall repair with a different patching compound. Traditional plaster walls are a layered system: a base coat is pressed through wood lath to create “keys,” then finished with brown and finish coats. When those keys fail, plaster damage may appear as cracks, bulges, or hollow spots, even when the wall appears largely intact. A lasting repair starts with a close assessment of damaged plaster, loose plaster, moisture damage, and conditions behind the walls or ceilings.
For small nail holes, hairline cracks, and shallow chips, patching plaster can be straightforward. Remove loose material, lightly dampen the edges, and apply a compatible patch in thin layers rather than one heavy coat. A setting-type compound may suit a modest interior patch, but it should be built up with care and sanded only after it cures. Matching the surrounding texture often calls for more expertise than patching holes, particularly in an older house with hand-troweled finishes. Thoughtful paint preparation also helps the repair disappear into the surrounding surface.
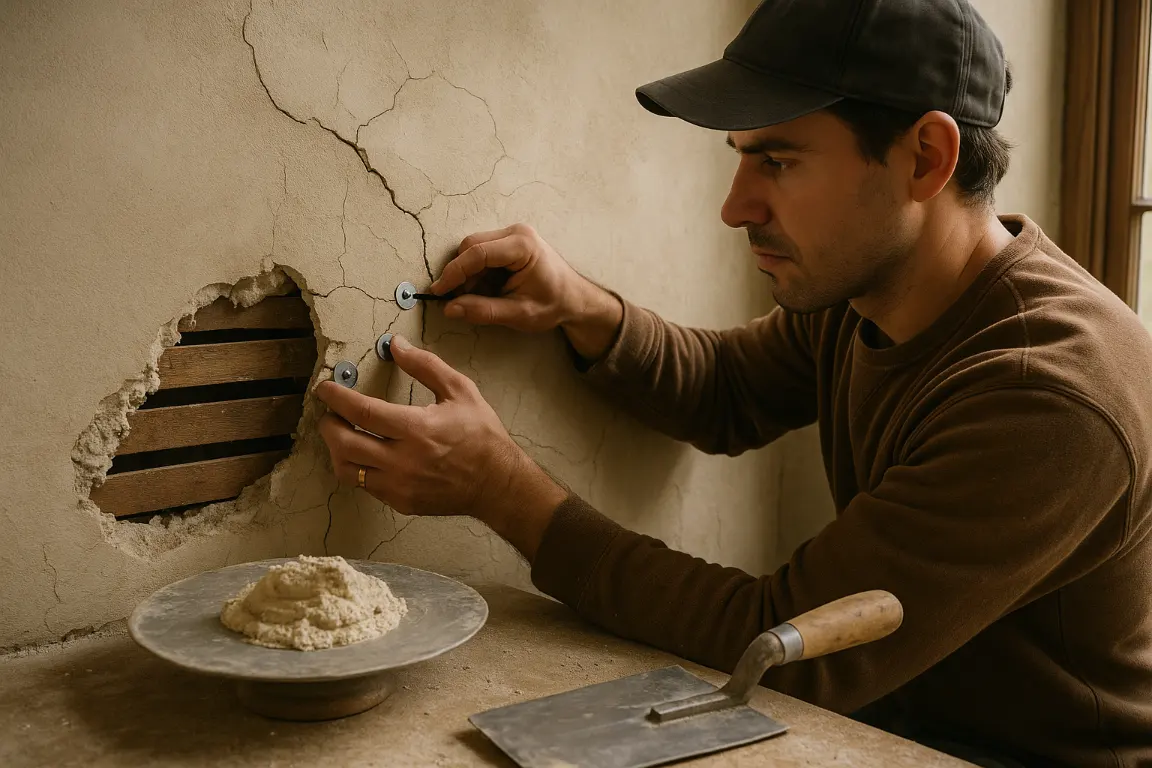
Cracks and loose areas require a more deliberate approach. Before patching holes or applying a finish coat, repair plaster that has pulled away from the lath. Plaster washers, secured with screws into the lath or framing, can gently draw detached sections back into place. The area is then stabilized, taped where appropriate, and skimmed in successive coats. These repairs avoid the short-lived approach of covering a moving wall with joint compound, only to watch the cracks return.
Lime plaster deserves particular care during restoration work. Its breathability and flexibility differ from modern gypsum products, so repairing plaster in a historic wall may call for a lime-based material and a slower curing process. An overly hard patch can create new stress at the repair edge.
Drywall is generally faster to patch because it is a flat-board system with taped seams. Plaster offers exceptional durability and character, but the job depends on careful diagnosis and compatible materials. MrWalls Drywall & Painting can assess whether a localized patch, plaster stabilization, or drywall replacement is the right repair service for your project.
Water-damaged plaster is seldom merely a surface concern. A brown ring, bubbling paint, hairline cracks, or small holes may signal a roof leak, plumbing failure, overflowing fixture, or persistent condensation behind the finish. Before any plaster repair begins, MrWalls Drywall & Painting recommends locating and correcting the moisture source. Repairing plaster without resolving the underlying cause can leave a house vulnerable to recurring stains, mold growth, and continuing damage to plaster walls, drywall, and framing.
Ceilings deserve particular care, particularly where water damage is present. Plaster is heavy, and loose plaster can fail with little warning after moisture weakens its bond to lath or metal backing. A ceiling with sagging areas, soft spots, widening cracks, or dusty debris should never be casually scraped, patched, or covered from below. The appropriate repair may call for stabilization, careful removal, plaster washers, and rebuilding the affected wall or ceilings rather than relying on a simple patch. Keeping people clear of compromised ceilings is the sensible first step.
A thorough evaluation considers how long the area remained wet, whether insulation and framing are fully dry, and how much damaged plaster is still sound. Small, dry, stable areas may be suitable for targeted patching plaster. The job may include removing loose material, preparing the surrounding surface, and selecting the right compound to apply a durable new coat. More extensive plaster damage may require selective demolition, drying, replacement of affected drywall or plaster sections, patching holes, and repainting to blend seamlessly with the room.
Thoughtful restoration also safeguards the character of older homes. Matching lime plaster, preserving crisp edges around trim, and making transitions disappear require more than a quick skim coat. Whether the project involves a small wall repair or broader repairs, MrWalls Drywall & Painting provides a careful service: address moisture, assess the substrate, remove unsafe material, repair plaster, rebuild the surface, and finish it properly. That added care helps ensure the repair looks refined and lasts.
Small nail holes, hairline cracks, or a light surface scuff can often be handled with meticulous prep, patching, sanding, and paint. Patching holes or patching plaster may be a manageable house project when the damage is minor. But plaster repair becomes a professional job when the signs suggest movement, moisture, or failure beneath the finished surface. Cracks that widen, sagging areas, loose plaster, stains, and crumbling sections warrant a closer look before anyone applies a cosmetic patch. On older plaster walls, including lime plaster, visible plaster damage may represent only part of the story.
A qualified repair service can determine whether damaged plaster has detached from its lath, whether a previous leak remains active, or whether settling is placing stress on a wall or ceiling joint. They may use plaster washers to secure loose areas before repairing plaster. This evaluation is particularly important around windows, plumbing lines, chimneys, and ceilings, where water damage or structural movement can transform a simple-looking repair into a recurring issue. If a surface feels soft, bulges, sheds dust, or shows multiple repairs in the same area, bring in a specialist rather than layering compound and paint over the damage.
When comparing contractors, ask how they diagnose the cause before starting repairs. A capable professional should explain whether they can repair plaster and stabilize the existing surface, or whether removal and replacement is the sounder option. Ask which materials they use, how they will match the surrounding texture, and how they protect adjacent drywall, walls, and finishes throughout the project. If water is involved, ask whether the source must be corrected and whether the area is fully dry before repair begins.
It is also worth discussing the final finish in detail. MrWalls Drywall & Painting approaches plaster walls with an eye toward durability, restoration, and a seamless painted result. That means thorough surface preparation and careful blending at the edges of the repair. Request a clear scope of work, timeline, and explanation of what happens if hidden damage appears once the wall is opened. The right team will make the process clear, rather than simply promise that a fresh coat of paint will make everything disappear.
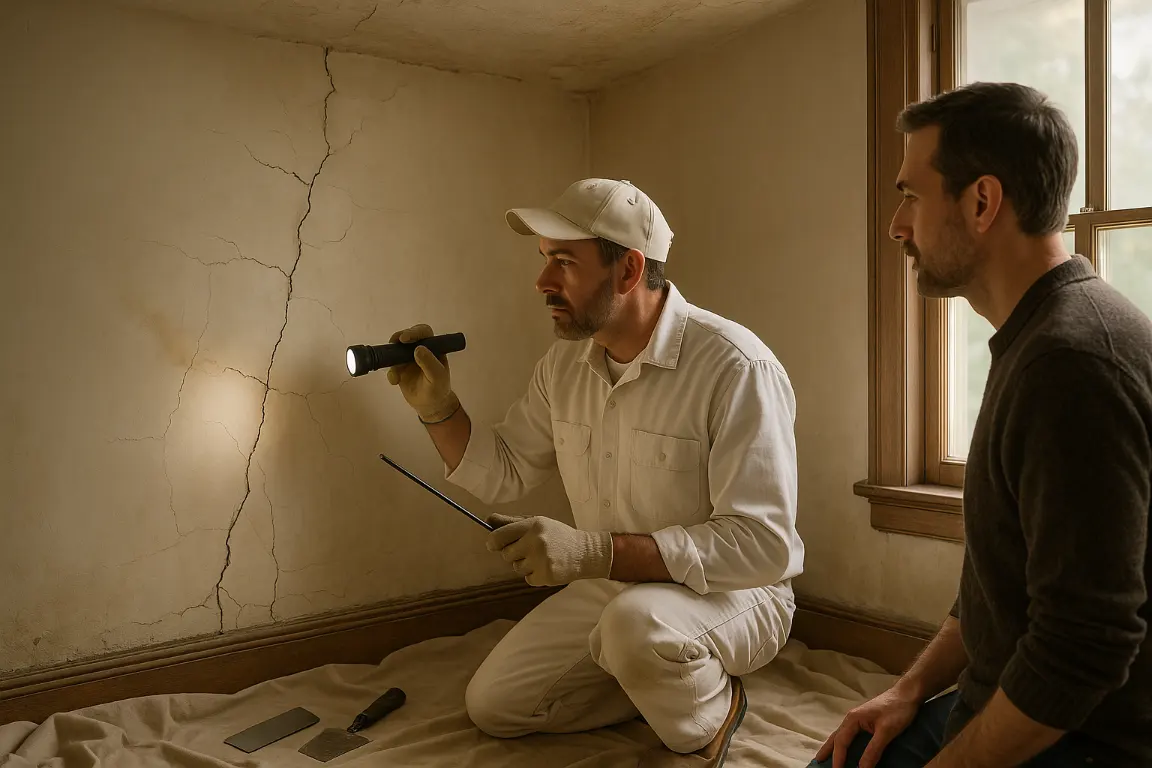
Fine cracks can be cosmetic and often appear near doors, windows, and wall-to-ceiling transitions. Wider, recurring, or spreading cracks may result from settling, vibration, framing movement, moisture, or plaster separating from its lath backing.
Loose plaster may sound hollow when tapped, flex under gentle pressure, bulge, shed dust, or crack around a localized area. Detached plaster should be stabilized or removed back to sound material before it is patched and refinished.
Yes. Many plaster cracks and localized damaged areas can be repaired by securing loose sections, removing unsound material, reinforcing the repair where needed, and applying compatible coats to match the existing wall. Replacement may be needed when damage is widespread or unstable.
First, stop the source of moisture, whether it is a roof leak, plumbing issue, or condensation problem. The area must dry thoroughly before repair. Stained, soft, crumbling, or sagging plaster may require removal and restoration rather than a simple cosmetic patch.
It can be. Plaster is heavy, and water damage or failed keys can cause a ceiling section to loosen unexpectedly. Keep people clear of sagging, soft, cracked, or debris-shedding ceilings and arrange a professional assessment before attempting repairs.
Joint compound may work for small, shallow interior repairs, but it is not always the right material for traditional plaster. Historic lime plaster and larger repairs often need compatible materials and layered application to prevent cracking, poor adhesion, or visible patch edges.
Hire a professional for recurring cracks, hollow or loose plaster, water stains, soft spots, bulges, crumbling sections, or ceiling damage. A qualified contractor can identify the underlying cause, stabilize the substrate, and blend the repair with the surrounding texture and paint.