Drywall Repair: When to DIY and When to Hire a Pro
Learn how to assess drywall damage, compare DIY and professional repair options, and get a clear photo-based estimate from MrWalls.
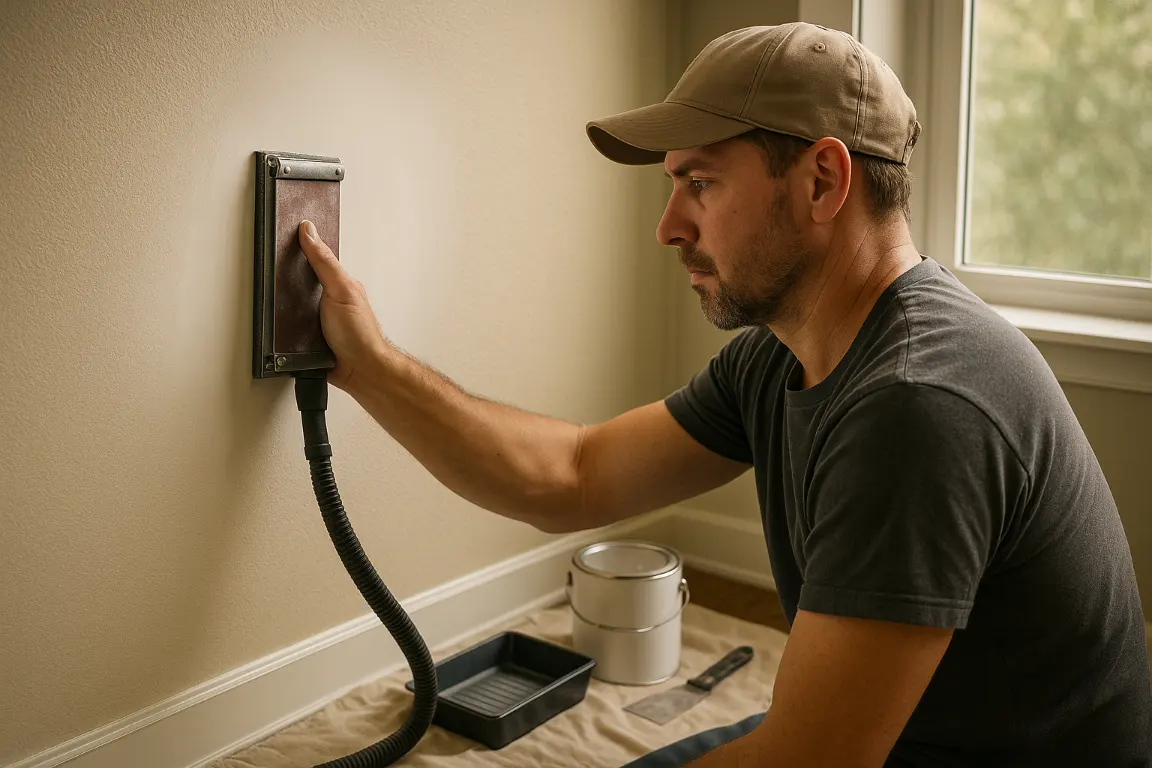
Learn how to assess drywall damage, compare DIY and professional repair options, and get a clear photo-based estimate from MrWalls.
Drywall repair can be a satisfying DIY project, or a small mistake that stands out every time light hits the wall. Tiny nail holes, a shallow dent or a small hole are often manageable at home with patching compound, drywall compound and careful sanding drywall. Larger holes, loose drywall tape, water damage, cracks, a damaged drywall corner or textured walls may need professional repair.
The finish makes the difference. A durable drywall patch needs solid backing, drywall screws when needed, joint compound, smooth sanding, matching texture and paint. Knowing how to patch drywall, repair drywall or handle repairing drywall can help with interior damage, while exterior wall issues often require a professional service. Consider the size of the patch, the condition of the wall and whether painting will blend the repair into the surrounding drywall before you begin.
Small nail holes, dents, and clean punctures are often manageable DIY drywall repairs with spackle, sanding, primer, and patience. Larger holes, recurring cracks, difficult textures, high ceilings, or visible finish concerns may require professional skill. Always address water stains, soft drywall, sagging ceilings, or musty odors before patching, as they can signal leaks or mould. Proper taping, feathering, texture matching, and paint matching make repairs last, and disappear.
Drywall repair is one of the more approachable projects in a home, until the damage points to a larger issue behind the wall. A small nail hole, a shallow door-handle dent, or a clean puncture a few inches wide can often be handled with a careful DIY fix. With lightweight spackle, a putty knife, fine sandpaper, primer, and matching paint, most homeowners can patch drywall and restore a smooth finish in an afternoon. Patience matters: use thin coats, let each coat dry fully, and sand lightly instead of trying to fill the hole in one pass.
Repairing drywall gets more involved when holes are larger, the wall has cracks that keep returning, or the surface has texture. A repair that spans between studs needs solid backing, a properly fitted drywall patch, reinforced seams, and several coats of joint compound feathered beyond the patch. Even a sound repair can stand out when the texture or paint sheen does not match the surrounding wall. Popcorn ceilings, orange-peel finishes, and older walls with multiple paint layers can be especially difficult to blend without visible edges.
Water damage is the clearest reason to call a professional service. Soft drywall, stains, bubbling paint, musty odors, or a sagging ceiling may signal an active leak, trapped moisture, or mold growth. Patching the surface before correcting the source only hides the problem for a while. A qualified drywall contractor can assess the full damage, remove compromised material cleanly, and complete the repair once the area is dry and safe.
It is also smart to hire a pro for projects involving several rooms, high ceilings, significant wall damage, or a tight deadline. MrWalls Drywall & Painting brings the right materials, dust-control practices, and finishing experience to help repaired areas blend into the rest of the home. For one small hole, a DIY patch can be practical. For damage that affects appearance, durability, or the condition behind the drywall, professional repair is often the better long-term choice.
| Repair situation | DIY may be suitable when | Hire a professional when |
|---|---|---|
| Small nail holes, shallow dents, or clean punctures | The damage is only a few inches wide and can be patched with lightweight spackle, sanding, primer, and matching paint. | The patch must blend with a difficult texture or paint sheen. |
| Large holes or significant wall damage | Not typically suitable for a simple patch. | The repair spans between studs or requires solid backing, fitted drywall, reinforced seams, and multiple coats of joint compound. |
| Recurring wall cracks | Not recommended when cracks continue to return. | Cracks keep reappearing and may require a more durable repair. |
| Textured or older walls | Only if the texture and paint can be matched without visible edges. | The wall has popcorn, orange-peel texture, multiple paint layers, or a finish that is difficult to blend. |
| Water-damaged drywall | Not suitable until the moisture source is corrected and the area is dry and safe. | There is soft drywall, staining, bubbling paint, musty odors, sagging ceilings, an active leak, trapped moisture, or possible mold growth. |
| Large-scale or difficult-access projects | A single small hole can be practical to handle yourself. | The project involves several rooms, high ceilings, significant damage, or a tight deadline. |
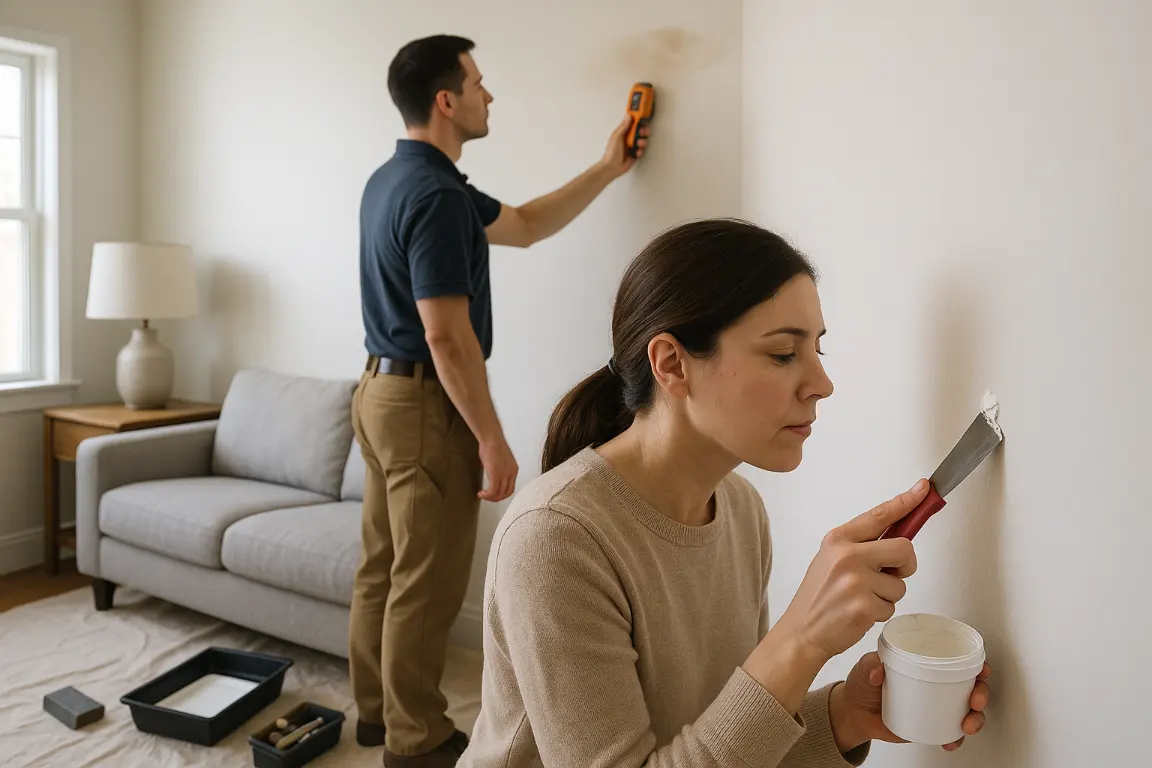
A clean drywall repair starts with an honest look at the damage, not just the visible mark. At MrWalls Drywall & Painting, we assess the cause, the full extent of the issue and whether the surrounding drywall is still sound. A small nail pop, scuff or shallow dent may need only a light layer of joint compound, followed by careful sanding drywall. A puncture, hole or larger opening may require a properly sized drywall patch to restore the wall before finishing. Water stains need added care. Even if the drywall feels dry, staining can signal a leak, weakened gypsum or hidden mould that should be resolved before the repair is closed.
Location matters as much as size. Damage near an outlet, door frame or drywall corner may need backing, reinforcement or detailed trim work to prevent future cracking. Ceiling work can involve sagging board, framing movement and matching existing texture. If drywall has pulled loose, drywall screws may be needed to secure the panel before any drywall compound is applied. Skipping this step can leave a patch looking smooth at first but prone to cracks later. For holes near an exterior wall, we also check for moisture or insulation concerns before repairing drywall.
Seam work is equally important when you repair drywall. Drywall tape is essential where new board meets existing drywall or where a crack follows a joint. Paper tape, mesh tape and preformed corner tape each suit different conditions, depending on the surface and movement risk. Several thin coats of compound, feathered beyond the patch, create a smoother transition than one heavy coat. This part of the project takes patience. Each layer needs time to dry, and sanding should keep the wall flat without creating a hollow or ridge.
Lighting and paint sheen also shape the finish. A patch under raking window light, or on a wall with satin or semi-gloss paint, needs wider feathering and a closer inspection than a repair in a low-light utility area. Whether you need to patch drywall in one room or plan a broader home painting service, assessing these details upfront clarifies the right materials, scope and finish level. The goal is a drywall repair that blends into the room rather than drawing attention to the damage.
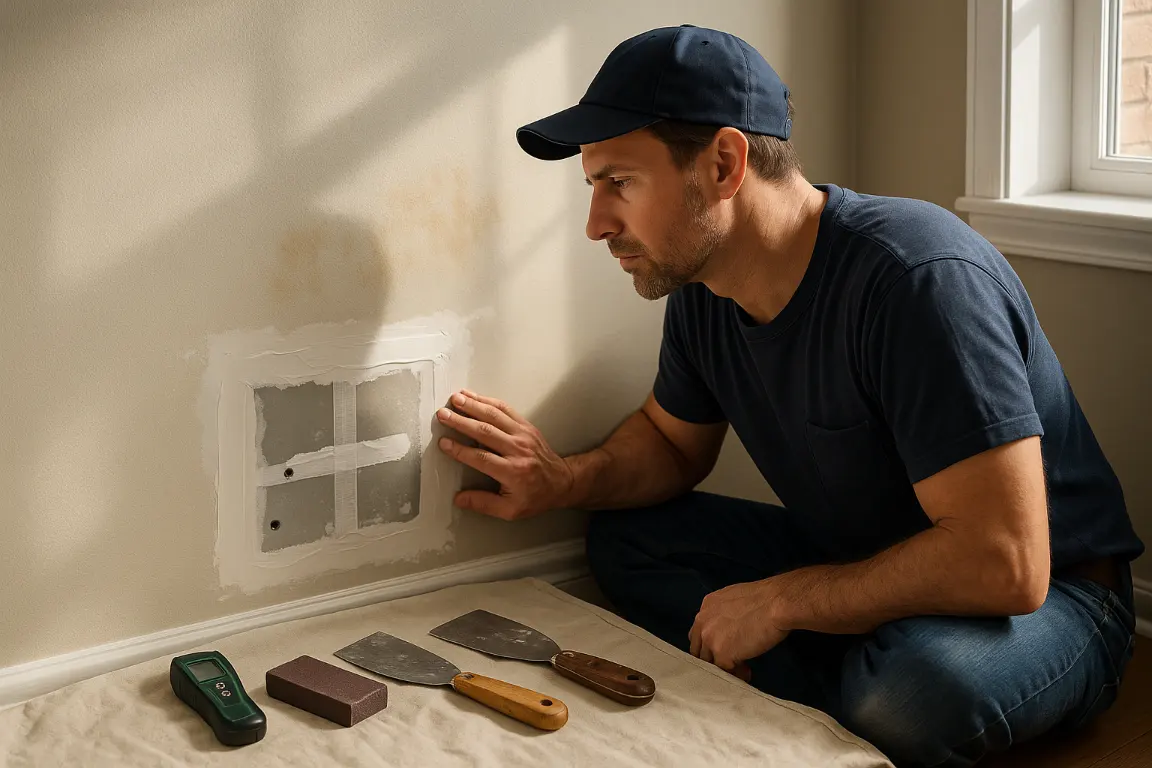
A drywall repair can be structurally sound yet still look unfinished when the final surface work is rushed. At MrWalls Drywall & Painting, we treat sanding drywall, texture blending and painting as connected parts of the same service. Each step affects how light moves across the wall, how the repair looks from different angles, and whether the finished area blends into the home.
After drywall tape is applied and the drywall compound or joint compound has dried, sanding drywall creates the foundation for the finish. The goal is more than a smooth feel. It means feathering compound beyond the repair, removing ridges around seams, drywall screws and a drywall corner, and creating an even surface that will not cast shadows. Over-sanding can expose tape or leave low spots. Too little sanding can leave edges that paint highlights instead of hiding. Careful dust control and the right primer help prepare the wall for paint.
Texture deserves the same attention. Orange peel, knockdown and hand-applied finishes can vary with the existing wall, application method, humidity and older paint layers. A drywall patch may look too dense, too flat or too uniform beside an older surface. To repair drywall convincingly, we review the surrounding finish first, then adjust the texture to match its scale and movement. The blend extends beyond the patch, helping prevent the hard outline often left by a quick repair.
Paint matching matters just as much. A paint name or old can may not provide an invisible match, especially after sun exposure, daily wear or changing room light. The same color in a different sheen can make a patch stand out on a broad wall or ceiling. Whether we are repairing drywall after damage, filling a hole or holes, or completing a larger project, we match color and sheen, use the appropriate primer, and recommend painting the full wall when it will create the most seamless result.
The same principle applies to exterior work. Exterior paint must blend visually while protecting the surface from moisture, temperature changes and ultraviolet exposure. Whether you need to patch drywall indoors or complete an exterior repair, the finishing details determine whether the surface looks newly repaired or simply looks right.
When a wall is dented, cracked, or stained, homeowners often ask whether the damage can be fixed cleanly or if the repair will always show. In most cases, professional drywall repair can restore the surface so it blends naturally with the surrounding wall or ceiling. The key is careful preparation, sound patching, proper drywall tape, and texture matching before paint is applied.
Small holes from door handles, anchors, or moving furniture may seem simple, but even a small hole needs more than a quick swipe of spackle. A durable drywall patch may require backing, drywall screws, thin layers of drywall compound, drying time, and sanding drywall beyond the patch edges. For a larger project, it is important to repair drywall with materials that match the existing wall.
Larger openings, recurring cracks, soft areas, or damage near windows and doors may signal movement, moisture, or a framing concern. Address those issues before cosmetic work begins. This is especially important for exterior walls, where moisture can affect insulation, framing, and the drywall behind the finished surface.
Water-damaged drywall needs extra attention. If the material is swollen, crumbly, discolored, or wet for an extended period, replacement is often the safer option. MrWalls Drywall & Painting can assess the affected area, determine whether to patch drywall or replace it, and complete the repair after the moisture source has been corrected. Painting over a stain without sealing it, or repairing drywall while it is still damp, rarely provides a lasting result.
Cracks are another common concern. A thin, isolated hairline crack may come from normal seasonal movement. Wider cracks, repeated cracking, or separation at seams may need reinforcement with drywall tape and joint compound. Simply filling the line can look acceptable for a short time, but rebuilding the joint correctly creates a stronger repair. Ceiling cracks and a damaged drywall corner also deserve a closer look, especially in older homes or after a leak.
Texture matching often separates an adequate drywall repair from an invisible one. Smooth walls need precise feathering, while orange peel, knockdown, and popcorn ceilings require techniques that recreate the surrounding finish. Once the drywall repair is primed and painted, painting an entire wall or ceiling may create the most uniform appearance, particularly when existing paint has faded or developed an uneven sheen. If you are unsure whether to patch, replace, or repaint, a professional service can identify the cause and help protect the polished look of your home.
Small nail holes, dents, and clean punctures are often suitable for DIY repair. Use thin coats of spackle or joint compound, allow each coat to dry, sand lightly, prime, and paint. Larger holes or repairs that need backing and tape are usually better handled by a drywall professional.
Drywall should generally be replaced when it is soft, swollen, crumbly, sagging, or extensively damaged. Replacement may also be needed after prolonged water exposure, around a large opening, or when the board has lost its strength and cannot hold a reliable repair.
It depends on the extent of the damage. The moisture source must be corrected first. If drywall remains firm and completely dry, a limited repair may be possible. Staining, bubbling paint, musty odours, soft gypsum, or sagging ceilings can indicate damage that requires removal and replacement.
Recurring cracks may result from seasonal movement, loose drywall, framing movement, or a failed seam. Filling a crack alone may provide only a temporary result. A durable drywall crack repair often requires securing the board, applying drywall tape, and rebuilding the joint with properly feathered compound.
Texture matching begins by assessing the existing finish, whether it is smooth, orange peel, knockdown, or popcorn. The repair is blended beyond the patched section and adjusted for the surrounding pattern, paint layers, and lighting so the new texture does not create a visible outline.
Not always, but painting the full wall often gives the most consistent result. Older paint can fade or change sheen over time, making a spot-painted patch stand out. Full-wall painting is especially helpful on walls with satin or semi-gloss paint, strong daylight, or broad, smooth surfaces.
A small patch may be completed in an afternoon, although drying time between compound coats can extend the process. Larger repairs, ceiling work, texture matching, and painting may take several days because each layer needs time to dry before sanding and finishing.
Hire a contractor for water damage, mold concerns, large holes, repeated cracks, textured ceilings, high ceilings, multiple-room repairs, or projects with a tight deadline. Professional finishing, dust control, seam reinforcement, and paint matching can make a major difference in the final appearance.