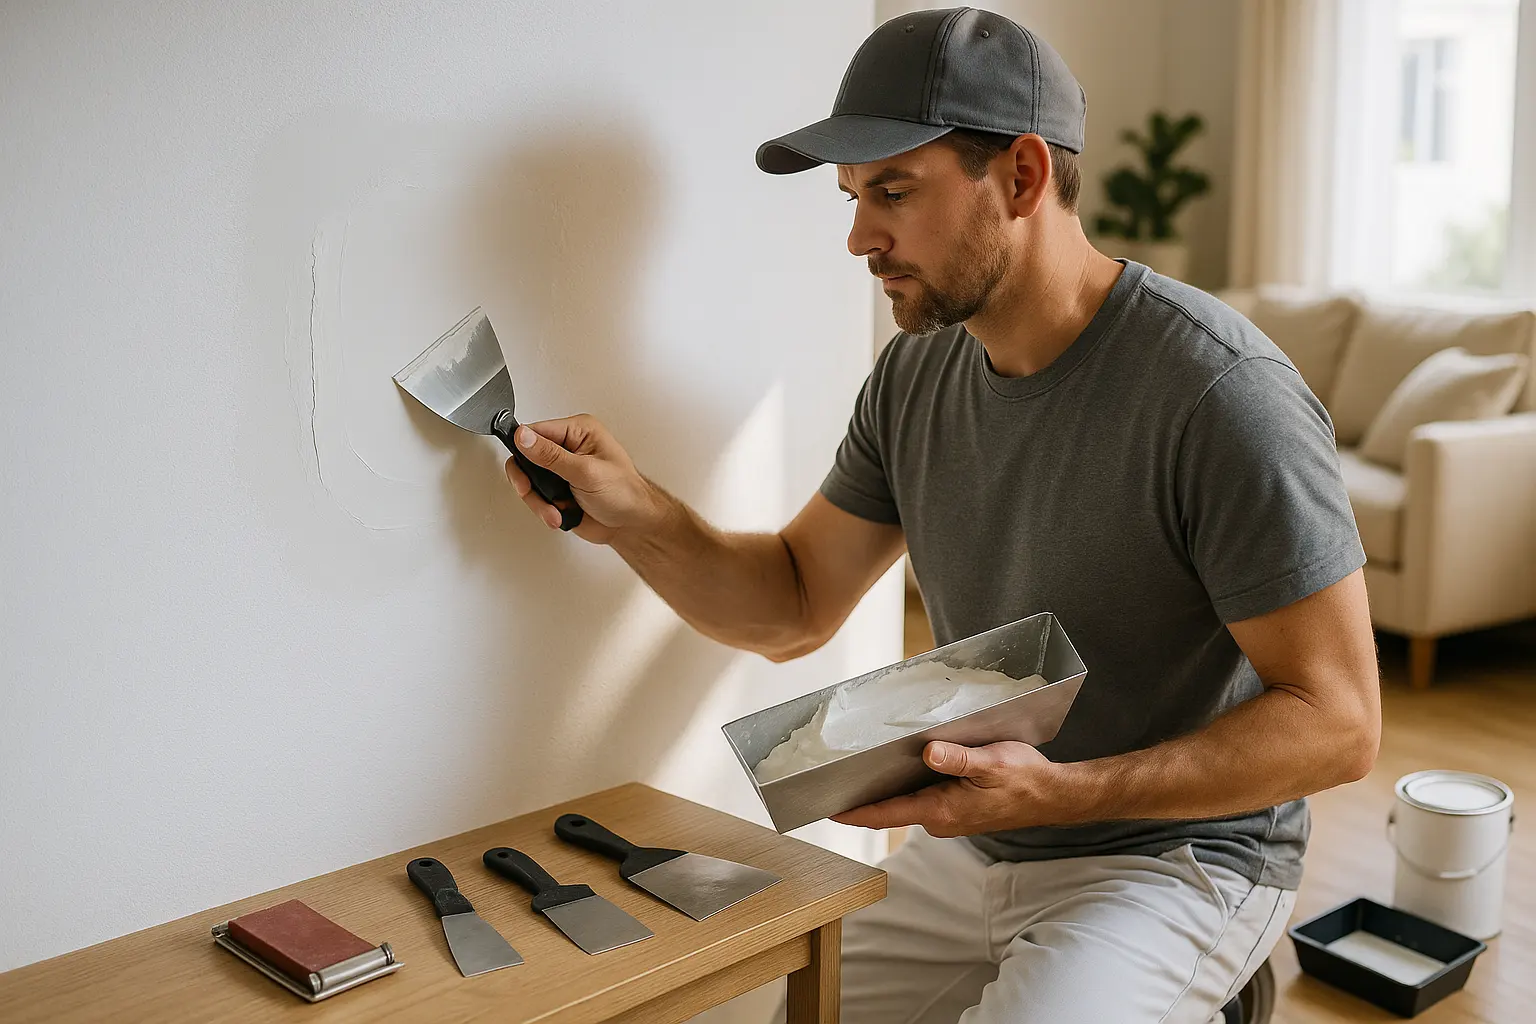
Drywall cracks range from routine seam movement to signs of moisture or structural concerns. Small, stable hairline cracks can often be repaired with proper preparation, compound, tape, sanding, primer, and paint. Recurring, widening, diagonal, stained, soft, or sagging areas require professional assessment and source repair first. Lasting results depend on correcting the cause, feathering finishes carefully, matching texture, and blending paint.
Cracked drywall repair can be as straightforward as filling a small seam, but drywall cracks may also signal shifting, settling, or moisture behind the wall. Look beyond the cracked area: the pattern, location, and timing of drywall cracks often reveal more than appearance alone.
This guide helps you determine when a DIY drywall repair can fix drywall and when a closer look is warranted. For stable cracks along drywall seams or other seams, a durable drywall patch begins with the right material: mesh tape or paper tape, a knife, mud, and spackling compound. Thoughtful patching with the proper patching material creates a smooth wall patch before paint. If a repair returns, repair drywall only after addressing the underlying cause.
Drywall cracks are common, yet their shape, location, and rate of change can reveal important clues about what is happening behind the wall. A fine hairline crack above a doorway may reflect normal seasonal movement. A widening diagonal line near a window corner, however, deserves a closer look. Successful cracked drywall repair begins with identifying the cause, not simply covering the cracked area with mud, a patch, and paint.
Many routine cracks appear along drywall seams, particularly where sheets of drywall meet or where a wall meets the ceiling. Framing expands and contracts, homes settle over time, and aging tape or joint compound can lose its bond. A durable drywall repair may require removing loose material with a knife, applying fresh tape or mesh tape, and building up thin layers of patching material or spackling compound. After sanding, priming, and paint, the repair should feel smooth and blend seamlessly with the surrounding wall. A quick drywall patch or wall patch may hide the line for a time, but it will not fix drywall seams that have failed.
Pattern matters. Straight cracks that follow seams often point to seam movement. Horizontal cracks may indicate shifting framing or stress along a long wall. Diagonal drywall cracks near doors, windows, or stair-step transitions can be associated with structural movement. Take notice when cracks are wider than a hairline, reappear soon after patching, or occur alongside sticking doors, uneven floors, or gaps around trim. Water staining, soft drywall, bubbling paint, or a musty odor calls for a different approach. Locate and address the moisture source before you repair drywall.
At MrWalls Drywall & Painting, we inspect the full surface before recommending a repair. We evaluate whether the concern is isolated, whether nearby seams are lifting, and whether water damage or ongoing movement could compromise the finished result. Once the underlying issue is understood, professional drywall repair can restore a durable, smooth finish that blends naturally with the surrounding wall and paint.
| Crack pattern or warning sign | What it may indicate | What to check before repair |
|---|---|---|
| Fine hairline crack above a doorway | Normal seasonal movement | Confirm that the crack is isolated and not widening or recurring. |
| Straight crack following a taped joint | Seam movement or failed tape and joint compound bond | Check for loose material and lifting seams; determine whether the joint needs re-taping. |
| Horizontal crack along a long wall | Shifting framing or stress along the wall | Check for nearby movement, seam lifting, and whether the crack is growing. |
| Widening diagonal crack from a window or door corner | Possible structural movement | Check crack width, whether it returns after repair, and whether doors stick, floors are uneven, or trim has gaps. |
| Diagonal crack at a stair-step transition | Possible structural movement | Look for recurrence, widening, and related signs of movement around doors, floors, and trim. |
| Water staining, soft drywall, bubbling paint, or musty odor | Moisture damage | Locate and resolve the moisture source before repairing the wall surface. |
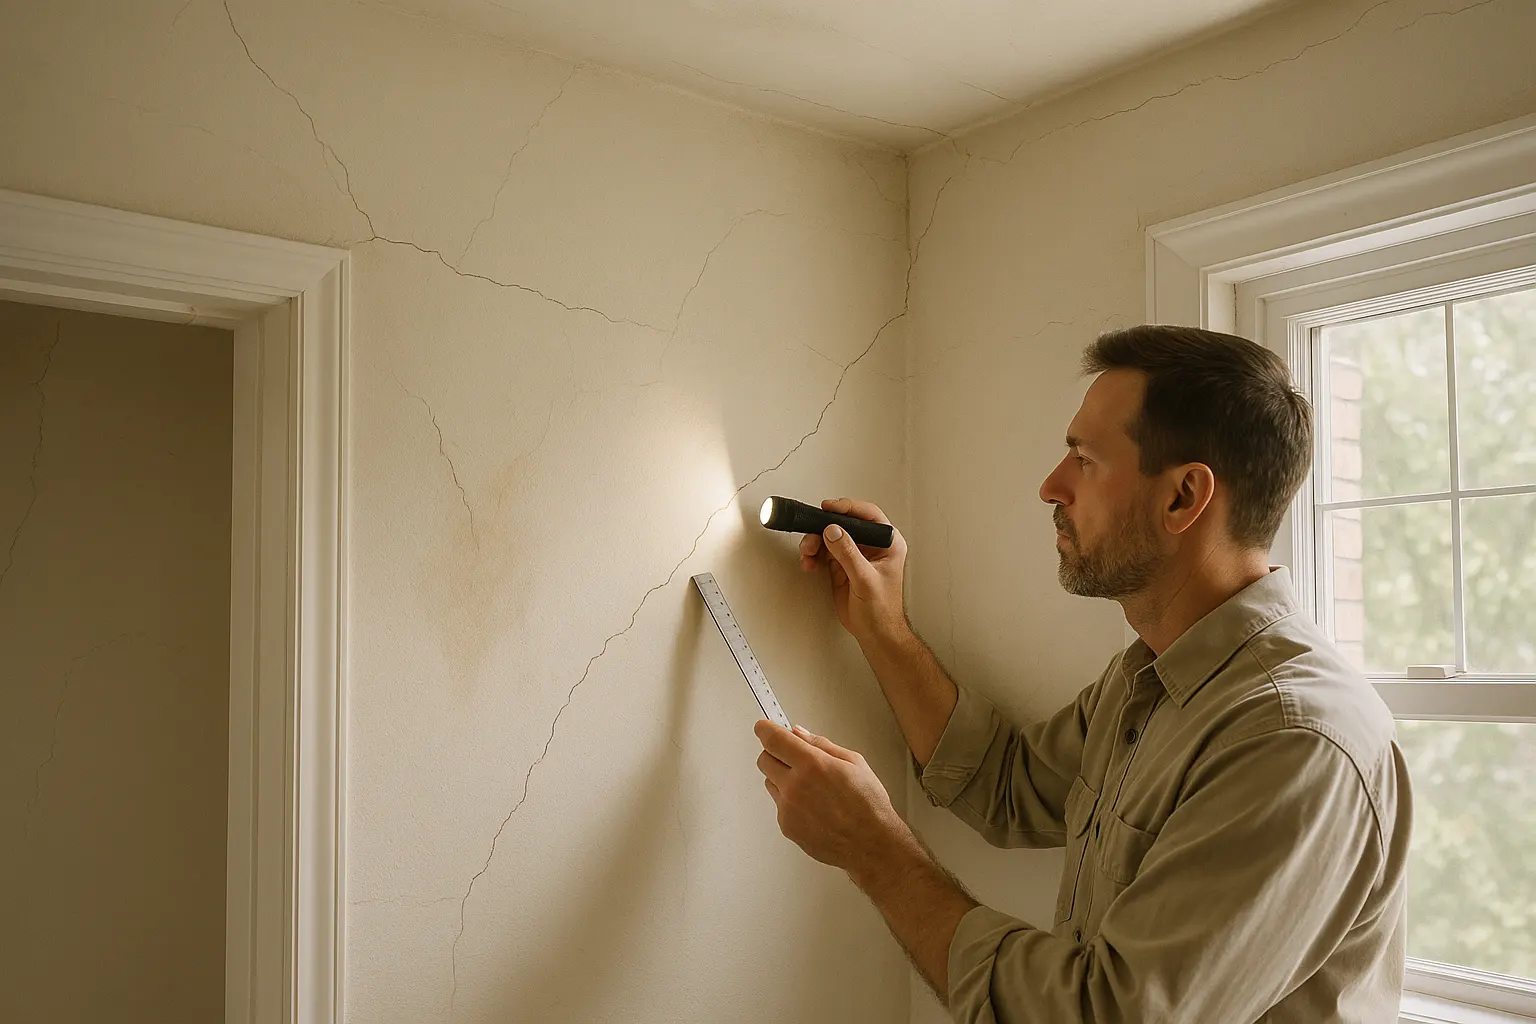
Small drywall cracks are often well within reach as home projects. When a crack is thin, stable, and confined to one cracked area, you may be able to fix drywall yourself with a careful, measured approach. Hairline drywall cracks above a door, near a corner, or along drywall seams can be part of normal seasonal movement and settling. A straightforward drywall repair may include opening the crack slightly with a knife, applying mud or spackling compound, and adding tape where appropriate. For a refined, lasting finish, sand the surface smooth, then prime and paint.
Selecting the right material makes a meaningful difference. Lightweight spackle works well for tiny surface flaws, while a drywall patch or wall patch may call for more durable patching material. For cracks along seams, use mesh tape and joint compound to create a flexible repair that is less likely to reopen. Allow every coat of mud to dry completely before adding the next. A rushed patch can remain visible beneath the final paint.
Before you repair drywall, study the crack pattern closely. A single, straight crack along the seams, without staining, softness, or movement, is usually a sensible DIY repair. Dents, nail pops, and small holes are also strong candidates for patching. Stop and call a professional when cracks are wide, recurring, or spreading across multiple walls or ceilings. Sticking doors, uneven floors, and gaps around trim can indicate a broader concern. Brown marks, bubbling paint, or soft drywall may signal an active plumbing or roof leak. A cracked drywall repair should never conceal moisture damage before the source has been corrected. Ceiling cracks also deserve added caution, particularly when the drywall sags or feels loose.
At MrWalls Drywall & Painting, we look beyond the visible line. We assess failed tape, framing movement, water damage, and the condition of the surrounding wall. Our focus is on resolving the cause, not merely masking the symptom. When a simple drywall patch is the right solution, thoughtful preparation delivers a clean, seamless result. When the issue requires replacement, retaping, or further investigation, early action can help protect your home and prevent a larger drywall repair later.
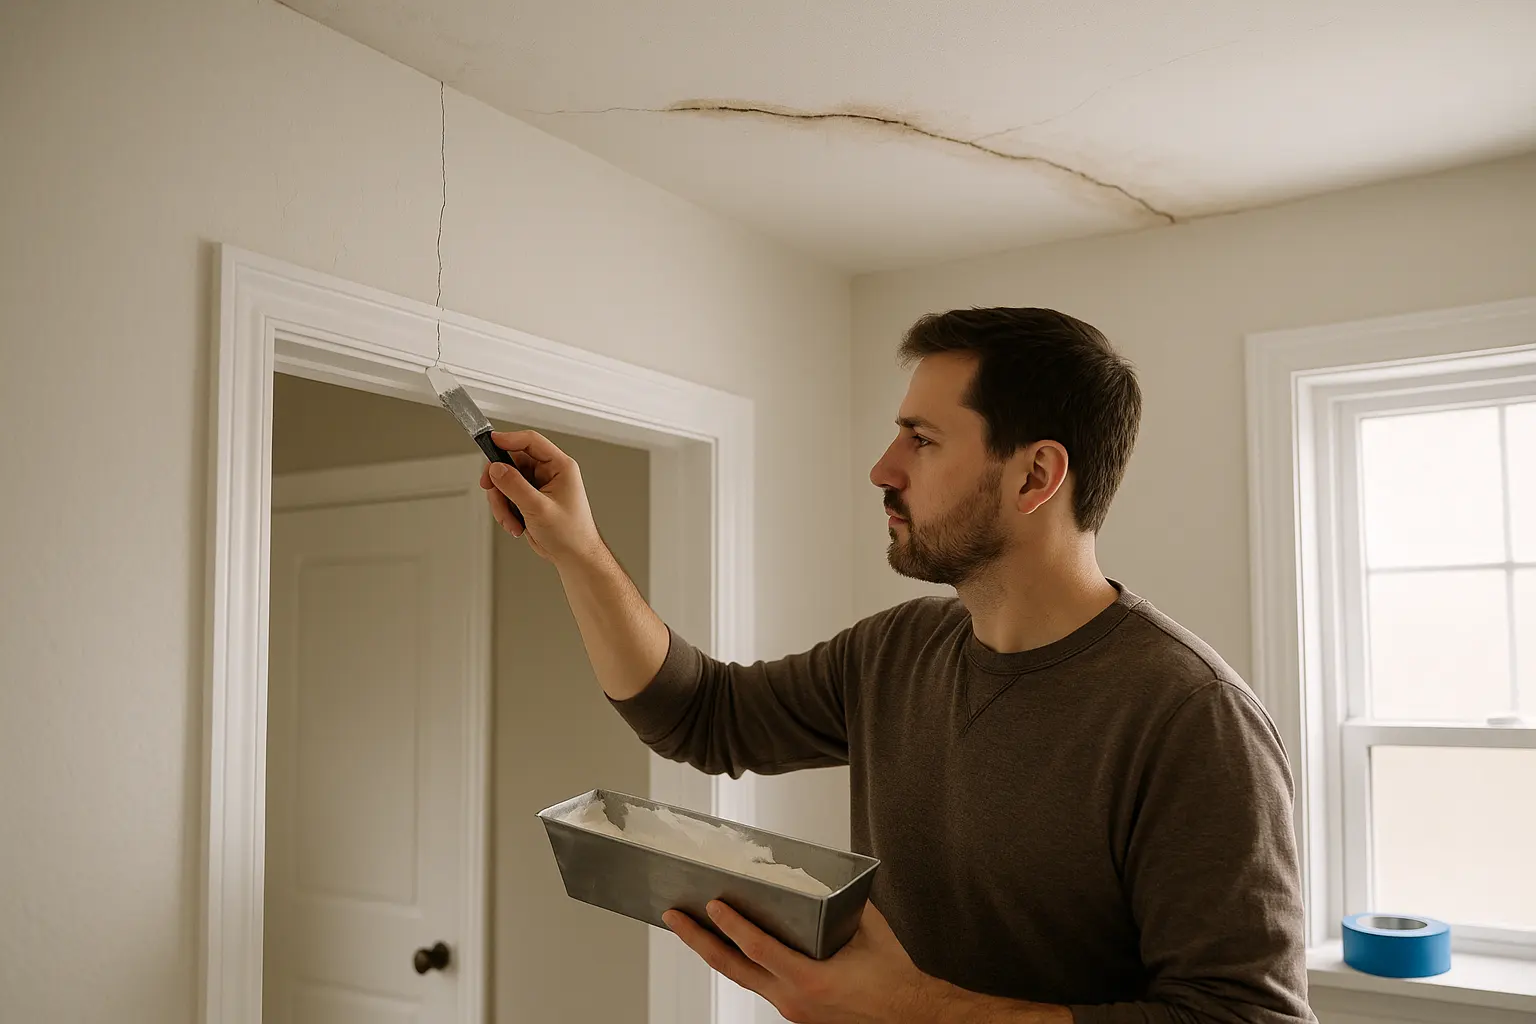
A hairline crack may seem minor, yet a lasting drywall repair demands more than a quick coat of paint. To fix drywall correctly, begin with the cause. Some drywall cracks affect only the finish layer, while others trace a joint that continues to move. Fine surface cracks near nail pops or older drywall seams can often respond well to cracked drywall repair with quality spackling compound. A recurring, widening, or diagonal crack may signal settling, moisture, or framing movement. Have the area evaluated before beginning cosmetic work.
For a dependable wall patch, remove loose material instead of filling directly over the cracked area. Use a utility knife to open the crack into a shallow V, creating room for the patching material to grip solid drywall. Brush away all dust before application. For small, static cracks, press flexible spackling compound firmly into the opening with a clean knife. Build the repair in thin layers, allowing each coat to dry completely. This measured patching approach reduces shrinkage and leaves the surface smooth, without a raised ridge.
Cracks along drywall seams require reinforcement. Apply self-adhesive mesh tape over the prepared seam, then embed the tape with joint compound, often called mud. The mesh tape spans the vulnerable point, while the mud creates a wide, feathered transition across the wall. This helps prevent the repair from telegraphing through the finished surface. Use a wider knife with each successive coat, extending beyond the previous layer so the drywall patch blends naturally into the surrounding area.
Once dry, sand lightly with a fine-grit sanding sponge. Inspect the patch from the side under a work light. If the drywall patch catches the light or feels uneven, apply one thin skim coat rather than sanding too aggressively. Prime repaired areas before paint, especially where bare paper or fresh compound is exposed. Primer helps prevent flashing, a variation in sheen that can make an otherwise careful drywall repair stand out.
At MrWalls Drywall & Painting, we approach every repair as both diagnostic work and finish work. Thorough preparation, reinforcement where needed, and patient feathering help repair drywall with results designed to last. The goal is a durable patch that disappears into the room, not a temporary cover-up that reopens with the next season.
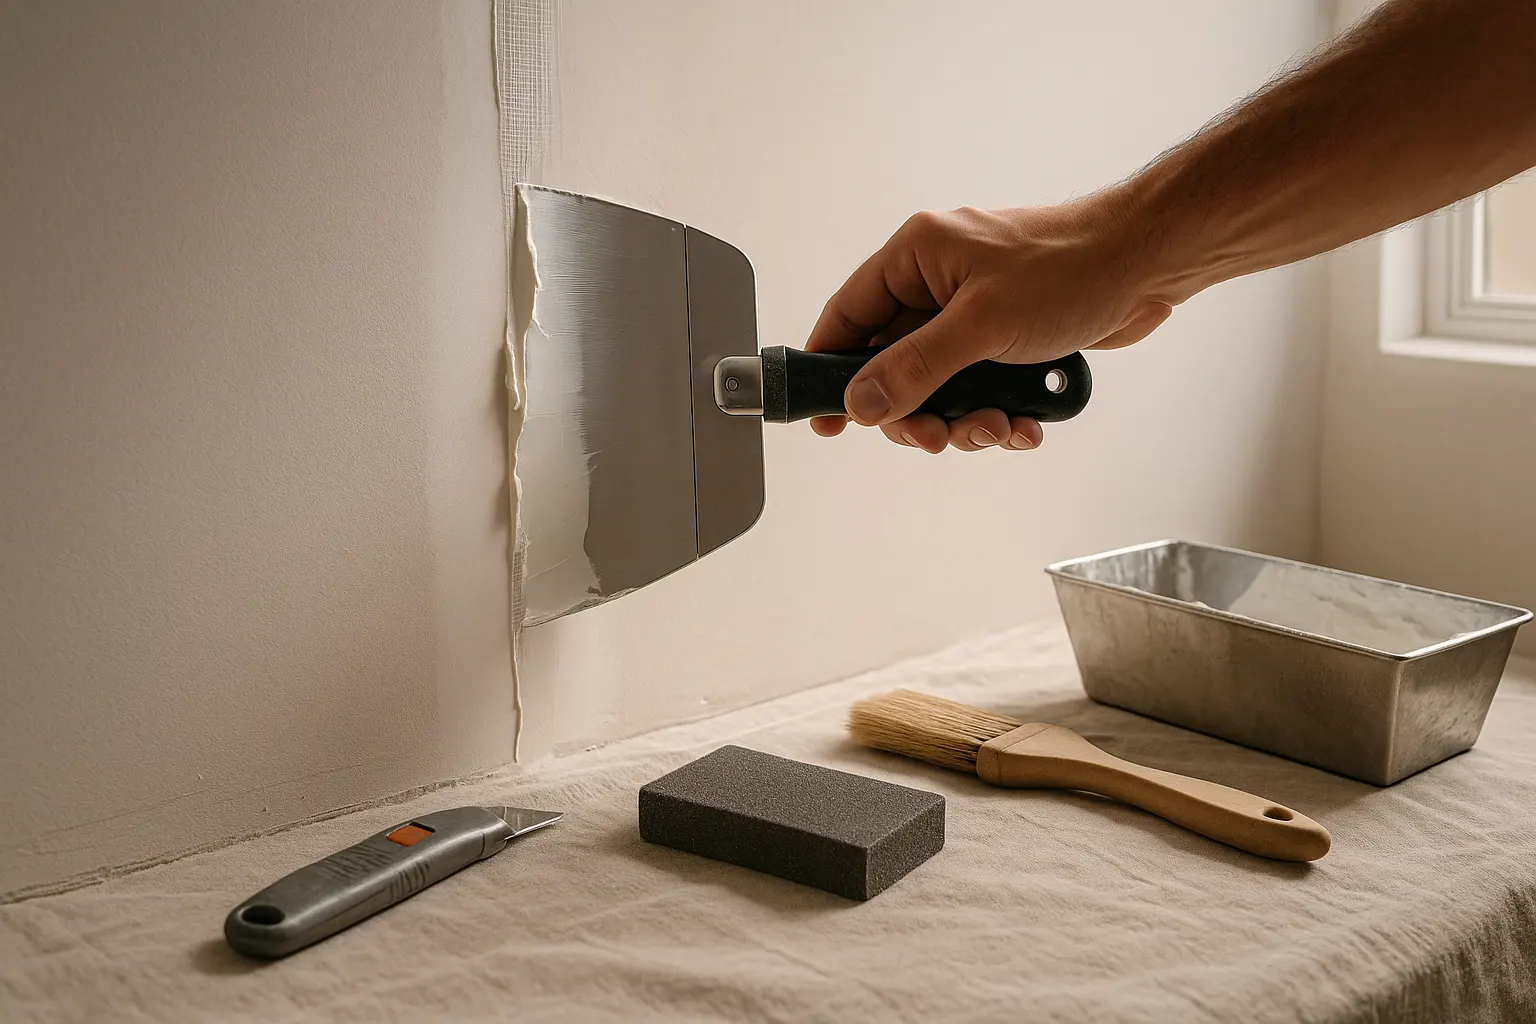
A drywall patch should disappear into the surrounding wall, not draw attention to where damage once occurred. At MrWalls Drywall & Painting, we approach every drywall repair as part of the room’s finished surface. Our team identifies the cause, works to repair drywall correctly, and prepares the area for paint that remains consistent in both daylight and evening light.
Meticulous finishing separates a temporary patch from a durable repair. We secure sound drywall, install new material where needed, and reinforce drywall seams with tape or mesh tape. Using a knife, we apply mud or spackling compound in thin, controlled coats. Each layer extends beyond the repair area to create a smooth transition. Once dry, the surface is sanded smooth and inspected for visible seams, edges, or uneven texture. We also match the existing finish as closely as possible, from smooth walls to orange peel, knockdown, and other textures. Primer helps the wall patch receive paint evenly while reducing dull spots and flashing.
Prevention starts with understanding what caused the damage. Small dents and holes may call for better protection in high-traffic areas. Drywall cracks or a cracked area may indicate normal movement, poor previous patching, or failing tape. For cracked drywall repair, we look beyond the visible crack before applying patching material. Water damage requires particular care. Leaks and humidity sources should be resolved before any repair begins; otherwise, softened material, staining, mold concerns, or peeling paint may return.
The cost to fix drywall depends on far more than the visible mark. Access, damage depth, framing or insulation work, water-affected material, texture matching, ceiling height, and paint blending all shape the scope of the work. A small nail-hole patch is substantially different from a larger drywall patch around plumbing damage, damaged drywall seams, or a ceiling repair.
Homeowners often ask whether they need to paint the entire wall after a patch. Not always. Still, a larger repair, older paint, or strong natural light can make full-wall painting the best choice for a seamless result. Another common question concerns drying time. Each coat of mud or spackling compound must dry fully before the next step. Professional patching is often completed in deliberate stages rather than rushed through in a single visit.
Drywall cracks can result from normal seasonal expansion, gradual settling, failed joint tape, framing movement, or moisture damage. The crack’s location, direction, width, and whether it returns after repair help determine the likely cause.
Wide, diagonal, spreading, or recurring cracks deserve attention, especially near doors and windows. Call a professional if cracks appear with sticking doors, uneven floors, trim gaps, sagging ceilings, water stains, bubbling paint, or soft drywall.
Yes, a small stable hairline crack is often suitable for DIY repair. Remove loose material, open the crack slightly, apply thin coats of spackling compound or joint compound, sand lightly, prime, and paint. Seam cracks usually need tape reinforcement.
A recurring crack often means the original repair only covered the surface. Ongoing movement, loose tape, framing stress, or moisture can reopen the area. The underlying issue should be identified before retaping, patching, and refinishing the wall.
Spackle works well for tiny, shallow surface flaws. Joint compound is generally better for larger cracks, seam repairs, and areas that need drywall tape. It allows the repair to be feathered broadly for a smoother painted finish.
Yes. Repair the roof, plumbing, condensation, or humidity source first. Replacing or patching water-damaged drywall before the area is dry and the leak is resolved can lead to staining, softened board, peeling paint, and repeat damage.
Not always. A properly primed small patch can sometimes be touched up successfully. For larger repairs, older paint, texture differences, or walls in strong natural light, painting the full wall often provides the most consistent color and sheen.